


Content
- 1 Plan & permits: verify loads, codes, and site conditions
- 2 Decide roof type, pitch, and drainage
- 3 Materials list: what you'll need
- 4 Footings and post anchoring
- 5 Attaching to the house: ledger, flashing, and water control
- 6 Framing the roof: beams, rafters, and spacing
- 7 Waterproofing, flashing details, and integration with house
- 8 Fasteners, connectors, and hurricane/wind ties
- 9 Insulation, ventilation, and finish choices
- 10 Construction checklist & practical tips
- 11 When to call an engineer or pro
- 12 Final inspection, maintenance, and longevity
Plan & permits: verify loads, codes, and site conditions
Before you cut lumber or dig footings, confirm local permit requirements and basic load assumptions. A roof adds dead load (roofing materials, sheathing) and live/snow load—plans should reflect the local code and snow-load zone. If you live where frost is present or seismic/wind loads matter, your inspector may require deeper footings, engineered post sizing, or specific fasteners; always submit a simple plan or speak to the building department first.
Decide roof type, pitch, and drainage
Choose between a lean-to (single slope) roof tied to the house, a gable, or a hip roof over a freestanding deck. For many retrofit deck roofs a lean-to (also called a shed roof) is easiest: it ties to the house with a ledger and slopes away from the building for drainage. Aim for a minimum slope that reliably sheds water—typical small porch/deck roofs use slopes from 1/8" to 1/4" per foot (or roughly a 1.0:48 to 1.0:24 rise/run range) so you can use common roofing underlayments and shingles. Steeper slopes are better for long runs and snow.
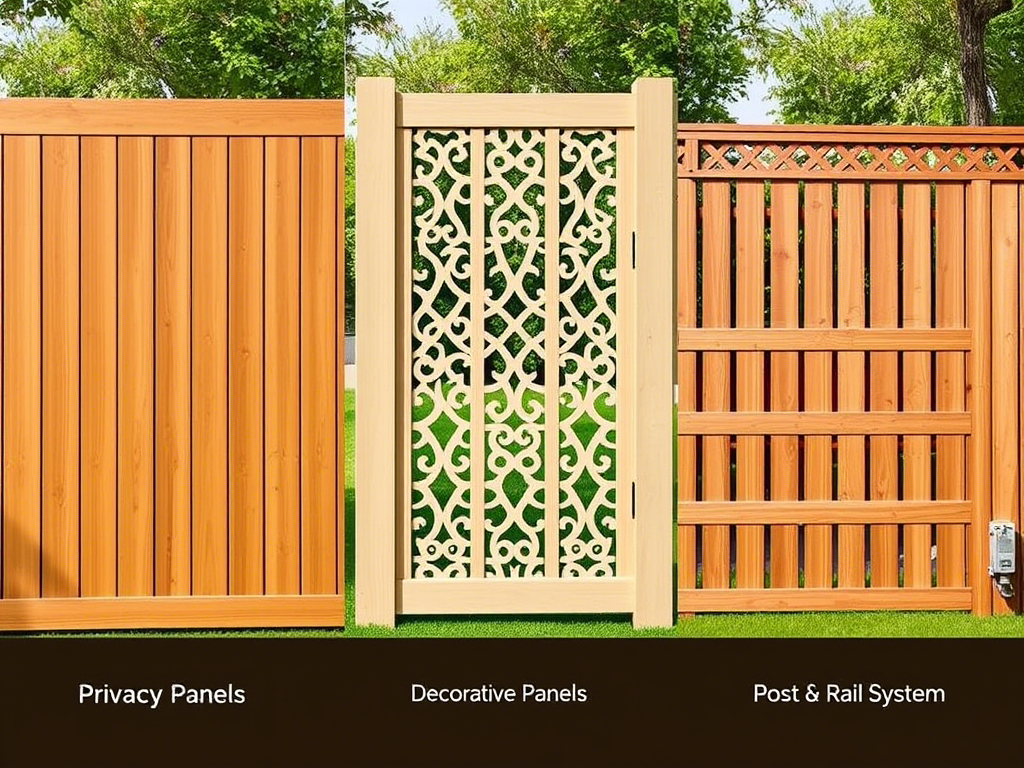
Materials list: what you'll need
Below is a compact materials table with common choices for a typical 12'–16' wide lean-to roof over a deck. Adjust quantities for your roof size and local code.
| Item | Common specification | Notes |
| Ledger board | 2x8 or 2x10 pressure-treated | Use flashing & structural fasteners |
| Posts | 6x6 pressure-treated | Size depends on span & load |
| Beams/header | Double 2x10 or engineered beam | Span tables/engineer for wide spans |
| Rafters | 2x8 or 2x10 @ 16" o.c. (typical) | See rafter spacing tables for loads |
| Sheathing & roofing | 5/8" or 3/4" plywood/OSB + underlayment + shingles/metal | Metal performs well for low slopes |
| Flashing & gutters | Continuous ledger flashing, step flashings | Protect house wall from moisture |
Footings and post anchoring
If your roof will be supported by new posts, dig footings sized for frost depth and soil bearing value. The 2021 IRC notes exterior footings must be placed not less than 12" below undisturbed ground and, where applicable, below frost depth—many jurisdictions require deeper footings depending on frost or local rules. A typical deck post footing is a poured concrete pier 12–24" deep (or to frost depth) with a 10–16" diameter or an engineered pier—use an anchor or post base cast into or bolted to the concrete to resist uplift and lateral forces. Verify frost depth for your county.
Attaching to the house: ledger, flashing, and water control
When tying a roof to an existing house, install a structural ledger bolted to the rim joist or rim board. Use 1/2" or larger ledger bolts (or engineered ledger connectors) through solid framing—do not attach a load-bearing ledger only to siding. Install continuous flashing above the ledger and counterflashing into the house cladding or behind the siding to prevent water intrusion. Consider a self-adhered membrane under the flashing at the ledger for extra protection. For many retrofit projects you may prefer a free-standing header/beam to avoid cutting into the house if the siding/structure can't accept a ledger.
Framing the roof: beams, rafters, and spacing
Select rafter size and spacing from prescriptive tables or an engineer: common on-center spacings are 12", 16", or 24" depending on rafter depth, species, and roof load. A common, practical configuration for a modest deck roof is 2x8 rafters at 16" o.c. bearing on a header beam at the outer edge and a ledger at the house. Cut birdsmouth notches to seat rafters on the header and use hurricane ties or rafter clips to resist uplift. Install rafter ties or collar ties per code to prevent spreading.
Birdsmouth cuts and rafter layout
Lay out rafters using a rafter table or rafter square. Mark the birdsmouth seat to ensure full bearing on the header and ledger (typically at least 1.5" bearing for 2x rafters depending on species). Cut rafters in sequence and fit them temporarily to check alignment before fastening permanently.
Waterproofing, flashing details, and integration with house
Flashing is the single most-important detail to keep water out where the new roof meets the house. Use continuous Z-flashing or metal ledger flashing that extends up behind the siding or into the wall cladding and out over the ledger face. Step flashing is required where roofing meets vertical walls or chimneys; integrate roofing underlayment with the flashing so that water runs onto the roof surface rather than into the wall. Proper drip edge and gutters at the eave keep water away from deck framing.
Fasteners, connectors, and hurricane/wind ties
Use corrosion-resistant fasteners (hot-dip galvanized or stainless) for pressure-treated lumber. Connect rafters to headers and ledgers with metal hurricane ties or rafter clips, and bolt ledgers with approved through-bolts or engineered connectors rather than just lag screws in many cases. For areas with high wind or seismic activity, add straps that connect roof framing to beams and beams to posts to create a continuous load path.
Insulation, ventilation, and finish choices
Decide whether the deck roof will be an unconditioned porch roof or an insulated, conditioned ceiling. For an unheated covered porch, ventilate the roof space (soffit vents + ridge vent or eave/baffle ventilation) and avoid enclosing a cavity that traps moisture. If you plan to finish the underside with a ceiling (drywall or beadboard), plan insulation and a vapor barrier as appropriate for your climate and code.
Construction checklist & practical tips
- Confirm permits and verify frost depth and footing requirements with inspector.
- Decide roof pitch early — affects rafter length, drainage, and materials.
- Use continuous ledger flashing and step flashing at all wall intersections.
- Use hurricane ties for uplift resistance and bolt ledgers to solid framing.
- Protect all cut ends of treated wood with a preservative and isolate dissimilar metals to avoid corrosion.
When to call an engineer or pro
Call a structural engineer if spans exceed prescriptive tables, if you plan a wide unsupported projection (>8–10 feet commonly), if the roof will carry heavy snow loads, or if the ledger attachment to the house is questionable. An engineer will provide member sizes and connection details; for peace of mind and permit approval this is the right time to spend a small fee.
Final inspection, maintenance, and longevity
After construction schedule the final building inspection and correct any noted items. Keep flashing clear of debris, inspect fasteners and post bases annually, and repaint or reseal exposed treated lumber where needed. With proper flashing and drainage, a well-built deck roof will protect the deck and house and last decades.