


Content
- 1 What Is a Flush Ground Level Deck? (And Why Build One?)
- 2 The #1 Challenge: Moisture, Rot, and Frost Heave
- 3 3 Foundation Systems for a Flush Deck (Cost vs. Durability)
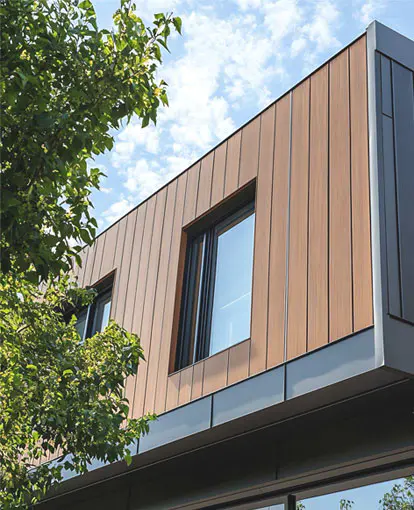
- 4 Choosing the Right Decking Material for Ground Contact
- 5 Step-by-Step: How to Build a Flush Ground Level Deck with Composite
- 6 5 Critical Maintenance Tips for a Ground Level Deck
A waterlogged 2x6 laid directly on soil fails in under three years. Yet thousands of flush ground level decks are still built that way. The gap between what works and what rots comes down to a handful of decisions you make before a single board goes down.
A flush ground level deck sits at or barely above the surrounding grade. It delivers a smooth transition from indoors to outdoors, no steps required. It costs less than an elevated deck, requires no railing in many cases, and opens up possibilities for tight side yards, patios, and pool surrounds.
The catch? The closer framing gets to the soil, the faster moisture, insects, and freeze‑thaw cycles attack it. Choose the wrong foundation or material and you get a spongy, mold‑stained platform within a few seasons. Get those two choices right and you can build a deck that outlasts the mortgage.
What Is a Flush Ground Level Deck? (And Why Build One?)
A flush ground level deck sits with its top surface at or near the elevation of the surrounding lawn, patio, or walkway. Unlike an elevated deck that rises several feet on posts and beams, this design hugs the earth. It often doubles as a floating platform, freestanding from the house where frost‑line footings might not be required.
Homeowners choose it for three practical reasons. First, cost. Eliminating tall posts, deep footings, stairs, and guardrails can cut total project spend by 30–50% compared to a raised deck of the same square footage. Second, accessibility. There is no step up, which makes it friendly for kids, older adults, and wheeled furniture. Third, aesthetics. A flush deck blends into the landscape instead of carving a visual barrier across the yard.
That low profile, however, introduces a structural vulnerability that a raised deck largely avoids. Understanding that vulnerability before you lay a single footing is what separates a 20‑year deck from a 3‑year headache.
The #1 Challenge: Moisture, Rot, and Frost Heave
Ground contact is the enemy of organic framing. Even pressure‑treated lumber, when constantly exposed to damp soil, fungal spores, and limited airflow, succumbs to soft rot within a decade. Composite materials eliminate wood’s cellulose food source for fungi and termites, but the real threat is trapped water.
- Moisture retention. A deck built too close to the ground traps humidity underneath. If the gap between the bottom of the joists and the soil is less than 2–3 inches, evaporation stalls. The result is a continuously damp microclimate that degrades fasteners, encourages mold on underside of boards, and swells any wood‑based core.
- Insect infestation. Termites and carpenter ants don’t need wood decking to cause trouble. Pressure‑treated framing in ground contact provides the exact dark, moist highway they use to reach the sill plate of the house. WPC materials without cellulose eliminate the food source, but physical barriers between soil and structure remain essential.
- Frost heave. In any region where ground freezes, moisture in the soil expands and lifts everything resting on it. Concrete blocks set on unprepared soil can shift upward in winter and settle unevenly in spring, leaving dips, gaps, and loose boards. A stable foundation must either reach below the frost line or float independently with adjustable leveling points.
A hard‑packed gravel bed and well‑graded slope solve part of the moisture problem. But only a foundation system that decouples the deck from direct soil contact can address all three risks simultaneously.
3 Foundation Systems for a Flush Deck (Cost vs. Durability)
Foundation choice dictates almost every other decision. The three most common approaches offer wildly different trade‑offs in labor, material cost, and service life. The table below breaks them down at a glance.
| Foundation System | Typical Material Cost (200 sq.ft.) | Expected Lifespan | Best Soil Type | DIY Difficulty |
|---|---|---|---|---|
| Concrete slab + sleeper joists | $600–$900 | 15–25 years (with treated sleepers) | Stable, well‑drained soil | High (requires concrete pour) |
| Gravel base + concrete deck blocks | $300–$500 | 8–15 years (blocks settle, wood rots) | Well‑drained, non‑expansive | Medium |
| Adjustable pedestals + composite frame | $800–$1,300 | 25–40+ years | Any, including clay and freeze‑prone | Low (modular and level‑adjustable) |
The concrete slab approach pours a reinforced pad on grade, then bolts pressure‑treated sleepers to it. It is rigid, permanent, and works well where the slab can be pitched for drainage. The downside: any future movement in the slab telegraphs directly into the deck surface.
Gravel plus deck blocks is the budget go‑to. You excavate 4–6 inches, fill with compacted crushed stone, and set precast blocks at grid spacing. It drains well. But blocks settle over time, especially in freeze‑thaw climates, and the wood framing still sits within splash zone of soil. Expect to re‑level every few years.
Adjustable pedestals with a composite or aluminum subframe solve the settlement problem completely. The pedestals sit on compacted gravel or small concrete pads, and each one threads up or down to micro‑adjust the height. Combined with a completely rot‑proof frame made from co‑extrusion WPC or aluminum joists, the deck becomes a zero‑maintenance structure that remains level for decades.
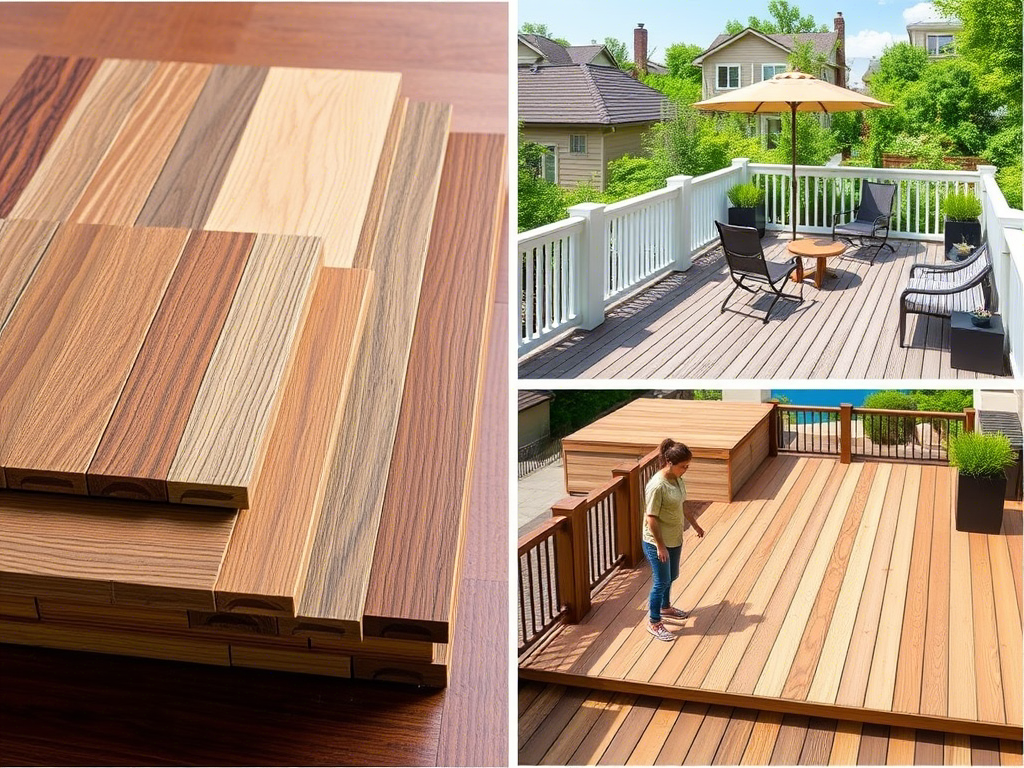
Choosing the Right Decking Material for Ground Contact
Foundation provides the plane; decking defines the surface. For a flush ground level deck, the decking material must handle sustained humidity, occasional standing water, and intense UV without cupping, fading, or rotting. The table below compares four material categories by the numbers that matter near the ground.
| Material | Water Absorption (24h) | Flexural Strength | Fire Rating (ASTM E84) | 10‑Year TCO (200 sq.ft.) | Maintenance Frequency |
|---|---|---|---|---|---|
| Pressure‑Treated Pine | 15–25% | 5,500–7,000 psi | Class C (or unrated) | $1,200–$1,600 | Annual sealing/staining required |
| Standard WPC (1st Gen) | 1.0–2.5% | 2,800–3,500 psi | Class B | $1,000–$1,400 | Bi‑annual cleaning |
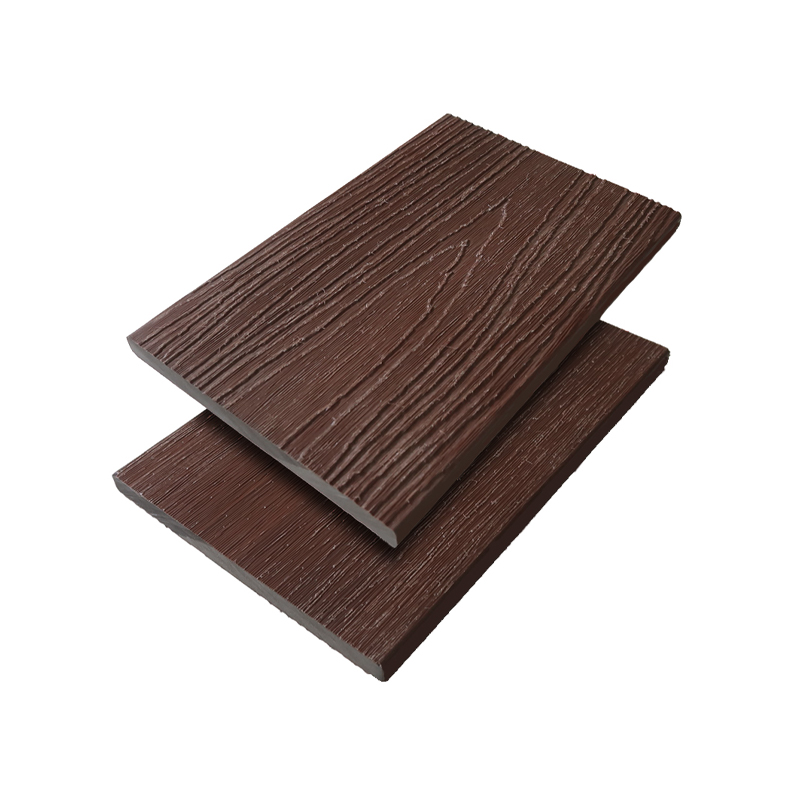
| Co‑extrusion WPC | 0.05–0.1% | 3,500–4,800 psi | Class A | $1,300–$1,800 | Occasional soap & water wash |
| Aluminum‑core WPC | 0% (core) / <0.1% (shell) | 8,000–10,000 psi | Class A | $2,200–$3,000 | Virtually none |
The co‑extrusion shell is the single biggest predictor of ground‑contact durability. Standard WPC boards absorb 1–2% water by weight, which causes long‑term swelling and mold bloom between the deck and joists. A co‑extruded board wraps the inner composite core in a dense polymer shield that pushes water absorption below 0.1%. That shield also blocks UV‑induced color fade and resists the scratching that exposes standard WPC to moisture ingress.
For zones requiring a fire‑rated assembly—typically within 10 feet of the house or in wildfire‑prone areas—aluminum‑core decking combined with a co‑extrusion WPC shell delivers a Class A flame spread index without relying on chemical treatments. The aluminum core also eliminates sag when joist spacing stretches beyond 16 inches, a common scenario in floating decks that use lightweight frames.
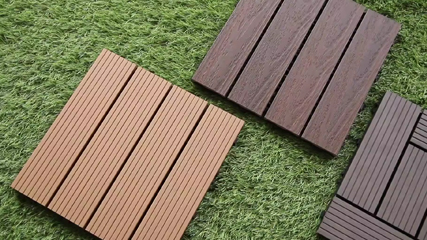
If the deck is purely recreational and the budget tight, DIY interlocking decking tiles can create a flush surface without any permanent framing. They snap together on compacted sand or existing concrete, drain instantly, and can be lifted and reinstalled in a new location. While not a substitute for a fully framed deck in high‑traffic areas, they solve the flush‑surface problem for half the cost and a single afternoon of work.

Step-by-Step: How to Build a Flush Ground Level Deck with Composite
This method uses a gravel base, adjustable pedestals, and a co‑extrusion WPC frame with matching deck boards. It works on clay, sand, and loam alike, and can be completed with basic carpentry tools over a weekend.
- Layout and excavation. Mark the deck perimeter with stakes and string. Excavate 6 inches of soil inside the footprint, sloping the bottom gently away from the house. Remove all organic material. Compact the exposed subgrade with a plate compactor.
- Gravel base. Fill the excavation with 4 inches of ¾‑inch angular crushed stone. Rake it level, then compact. The stone base provides drainage and prevents vegetation regrowth. Check with a laser level; the surface should be flat within ¼ inch over 10 feet.
- Pedestal placement. Position adjustable pedestals on the compacted gravel at spacings that match the joist layout (commonly 16 or 24 inches on center). For heavy loads or freeze‑prone zones, place a 12×12 concrete paver under each pedestal to distribute weight. Thread each pedestal to the approximate finished height.
- Install composite joists. Set co‑extrusion WPC or aluminum‑core joists into the pedestal saddles. Secure with stainless or coated fasteners. Check alignment and level continuously; the adjustability of the pedestals allows fine‑tuning of every bearing point. Maintain a minimum 3‑inch air gap between the bottom of the joist and the gravel for cross‑ventilation.
- Trim and perimeter board. Attach a fascia board around the outer edge to conceal the pedestals and frame. Use hidden fasteners or color‑matched screws. Install a metal or composite ground‑contact trim strip along the bottom to keep debris and critters out of the under‑deck space while still allowing air movement.
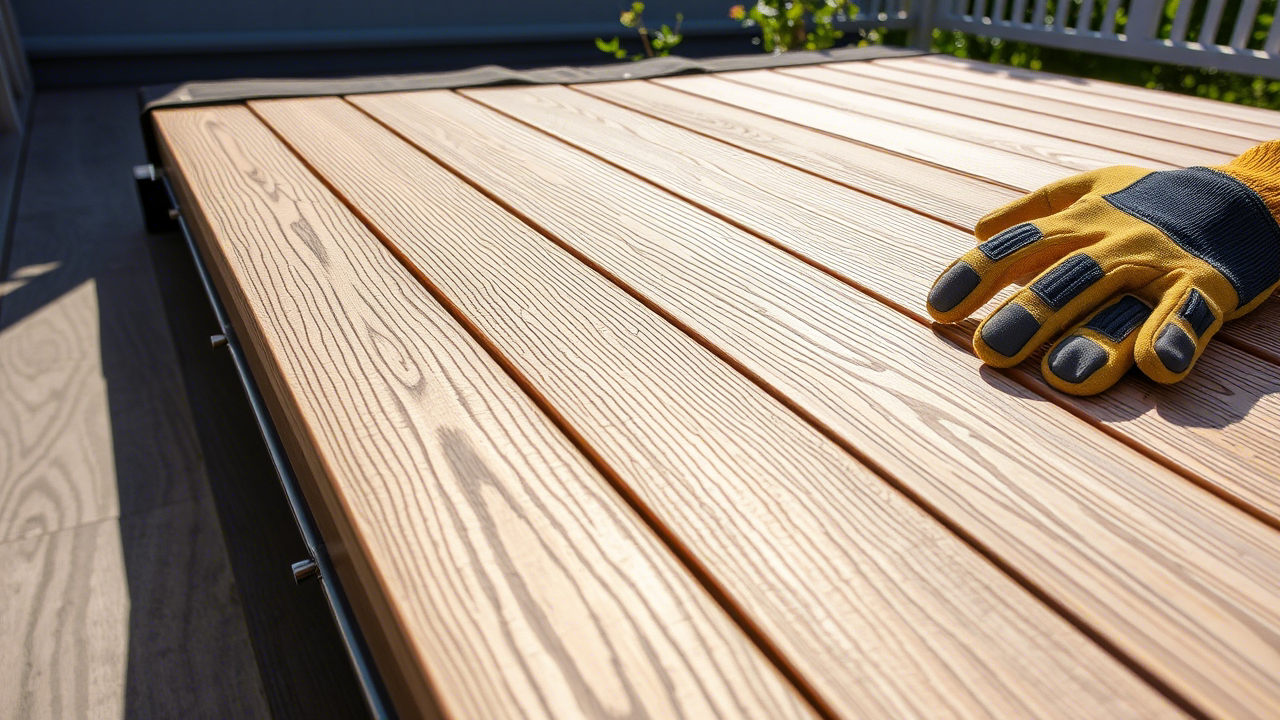
- Decking installation. Lay co‑extrusion WPC decking boards perpendicular to the joists using a hidden fastener system. Maintain consistent 5–6 mm gaps for drainage and thermal expansion. Pre‑drill screw holes near board ends to prevent splitting; composite expands roughly 2–3 mm per linear foot between summer and winter, so follow manufacturer spacing charts.
- Final level check and clean. Walk the full deck surface with a level and make any last pedestal adjustments from above, if the system permits top‑access leveling. Wash the surface with mild soap and water to remove construction dust before use.
Permit requirements vary. Many jurisdictions treat a freestanding, ground‑level deck under 200 sq.ft. and less than 30 inches above grade as exempt from a building permit, but always confirm locally. If the deck attaches to the house, permits and lateral‑load connectors come into play regardless of height.
5 Critical Maintenance Tips for a Ground Level Deck
A flush deck built with composite materials demands far less upkeep than wood, but the unique conditions at ground level call for a few targeted habits that most maintenance guides overlook.
- Clear under‑deck debris annually. Leaves, grass clippings, and windblown mulch accumulate in the ventilation gap. A spring cleaning with a leaf blower or a long‑handled scraper prevents moisture‑trapping dams.
- Inspect and clean pedestals every two years. Even though pedestals are plastic or rubber, shifting soil can tilt them. A quick inspection of level and alignment ensures minor adjustments catch issues before boards cup.
- Wash underside of deck boards. Use a pressure washer on a fan‑tip setting from the perimeter, angling the spray up into the ventilation cavity to remove mold and dirt. Keep the nozzle 18 inches from the composite surface to avoid embedding grit.
- Check drainage paths. After heavy rain, walk around the deck perimeter. If water pools within 3 feet of the structure, regrade the adjacent soil or add a shallow French drain to keep the gravel base dry and stable.
- Resist the urge to “seal” composite. Unlike wood, co‑extrusion WPC’s protective shell doesn’t absorb sealers. Applying wax or film‑forming products creates a slick, cloudy layer that traps dirt. A periodic wash with water and a non‑abrasive cleaner is all it needs.
These five practices, paired with a properly installed gravel base and a rot‑proof frame, extend the deck’s flat, solid feel to a timeline measured in decades rather than seasons.