


Content
- 1 1. Recommended post spacing by fence type
- 2 2. Quick comparison table (typical spacing)
- 3 3. How to calculate number of posts (step-by-step)
- 4 4. Worked example — 100 ft fence with 8 ft spacing
- 5 5. Layout & measuring best practices
- 6 6. Adjustments: corners, gates, slopes, and wind
- 7 7. Common mistakes and practical tips
- 8 8. Quick planning checklist
Knowing the correct distance between fence posts is the foundation of a durable, straight, and long-lasting fence. This article gives specific spacing recommendations by fence type, explains how to measure and lay out posts, shows adjustments for slopes and gates, and includes a clear worked example you can apply to your project.
1. Recommended post spacing by fence type
Different fence materials and styles require different post spacing to maintain structural integrity and appearance. Below are practical, commonly used spacing ranges with the reasoning behind each.
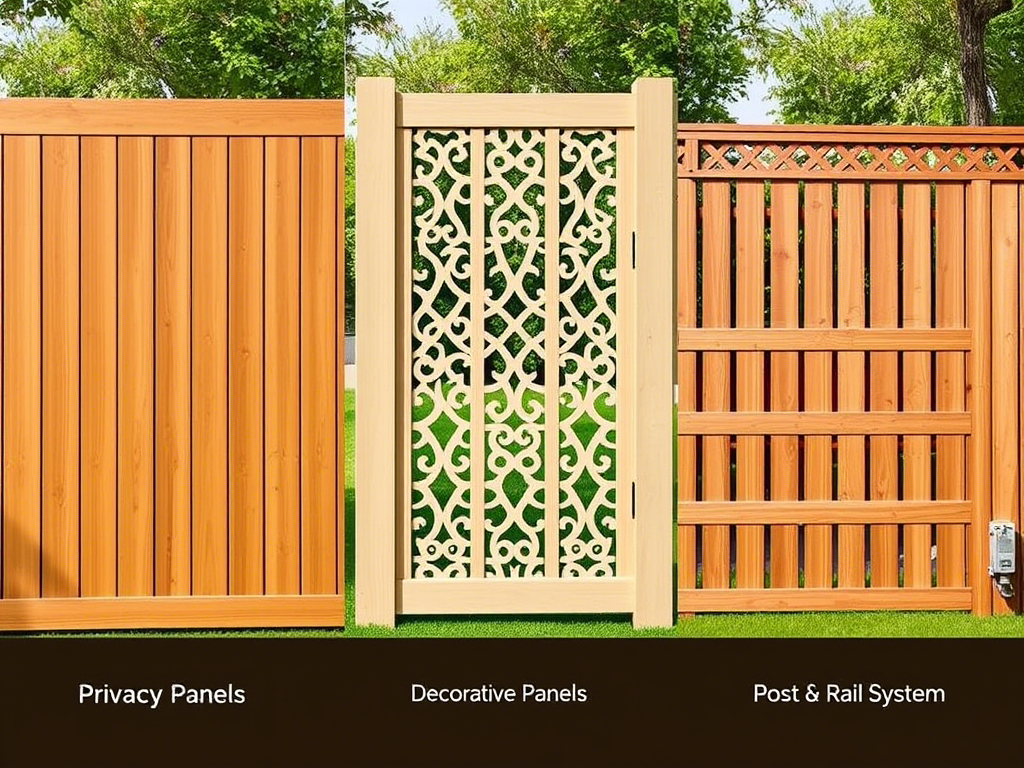
Wood picket and panel fences
Standard spacing: 6 to 8 feet between posts. Use shorter spacing (6 ft) for narrow boards, heavy panels, or high wind areas. For light pickets with rails, 8-foot spacing is often acceptable if rails are reinforced.
Chain-link fences
Standard spacing: 8 to 10 feet. Commercial and high-tension chain-link typically uses 10-foot bays, but residential jobs frequently use 8-foot centers for easier tensioning and greater rigidity.
Vinyl and PVC fences
Standard spacing: 6 to 8 feet. Vinyl panels are less tolerant of heavy loads and thermal expansion; closer post spacing (6 ft) reduces sag and visible bowing.
Split-rail and post-and-rail fences
Standard spacing: 8 to 12 feet. Because rails span between posts and loads are light, these fences can have wider spans. On longer rails, consider intermediate support for longer life.
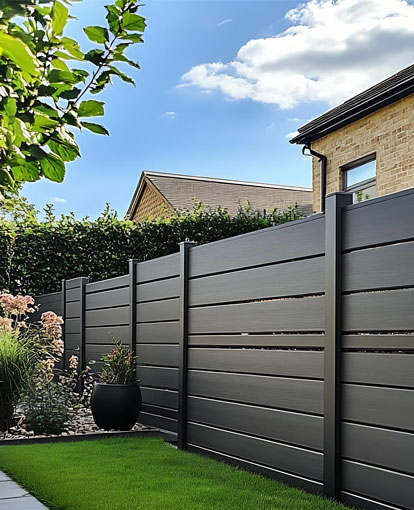
Metal and ornamental fences (wrought iron, aluminum)
Standard spacing: 6 to 8 feet. Ornamental panels often come in fixed widths; match post locations to panel widths for clean installs and reduce visible gaps.
2. Quick comparison table (typical spacing)
| Fence Type | Typical Spacing | When to reduce spacing |
| Wood picket/panel | 6–8 ft | High wind, heavy panels |
| Chain-link | 8–10 ft | Extra tension, security needs |
| Vinyl / PVC | 6–8 ft | Long thermal runs, heavy panels |
| Split-rail | 8–12 ft | Long rails or livestock loads |
| Metal / Ornamental | 6–8 ft | Tall panels or heavy gates |
3. How to calculate number of posts (step-by-step)
Use this straightforward method to convert desired spacing into the number of posts you must order or set. The method assumes you have a fixed linear run (straight line) between two endpoints.
Step-by-step method
- Measure the total fence length in feet (L).
- Choose target post spacing in feet (S) from the recommended ranges above.
- Compute intervals = L ÷ S. If you get a fraction, round up to the next whole number (you cannot set a fractional interval).
- Number of posts = intervals + 1 (one post at each end of every interval).
4. Worked example — 100 ft fence with 8 ft spacing
Example: You have a straight 100 ft run and select an 8 ft target spacing. Do the division carefully:
100 ÷ 8 — calculate digit by digit: 8 goes into 10 once(1) with remainder 2 (since 1 × 8 = 8; 10 − 8 = 2). Bring down the next 0 (from 100) to get 20. 8 goes into 20 two times(2) with remainder 4 (2 × 8 = 16; 20 − 16 = 4). This yields 12 remainder 4, or as a decimal 12.5. So 100 ÷ 8 = 12.5.
Round 12.5 up to 13 intervals. Posts required = 13 + 1 = 14 posts.
5. Layout & measuring best practices
Tools and materials
- Tape measure (50–100 ft), marking paint or stakes.
- String line and mason’s line level for straight runs.
- Post hole digger or auger and concrete for setting posts if required.
Step-by-step layout
- Mark the two end points of the run and set a taut string between them — this is your alignment line.
- From one end, measure the chosen spacing (S) along the line and mark each point with paint or a stake.
- If the last interval is significantly shorter than S (for example less than 60% of S), consider adjusting spacing slightly so the end intervals are more uniform.
- Use a line level at intervals to confirm posts will be in plane and square to the rails/panels.
6. Adjustments: corners, gates, slopes, and wind
Corners and end posts
Corner and gate posts take extra load; always use larger or reinforced posts and set them deeper with more concrete than line posts. Place corner posts first, then measure between corners to position intermediate posts.
Sloped terrain
On slopes you can either step the fence (level panels on a step) or rake the panels to follow the grade. For long slopes, reduce spacing by one foot (for example from 8 ft to 7 ft) or add extra posts where panels are raked to maintain visual and structural integrity.
High-wind or exposed sites
In windy areas, reduce spacing by 10–25% and use deeper footings (increase concrete volume) and sturdier posts. Consider adding wind-through panels or lattice to reduce sail effect.
7. Common mistakes and practical tips
- Buying posts without measuring actual run length — always calculate from measured length, not estimates.
- Setting end or corner posts flush with finished grade without extra depth — these need deeper concrete for stability.
- Ignoring local codes and utility lines — always call utility-locate services before digging.
- Relying on exact factory panel widths without accounting for small gaps and expansion — leave small tolerances for thermal movement.
8. Quick planning checklist
- Measure total run length accurately (L).
- Choose spacing (S) based on fence type and local conditions.
- Calculate intervals = L ÷ S, round up, then posts = intervals + 1.
- Order extra posts (typically 5–10% extra) to cover mistakes, special posts (corners/gates), and future repairs.
With these guidelines you can plan an efficient, cost-effective fence layout that stands up to use and weather. If you tell me your fence type and exact run length, I can walk through a custom calculation for your project.