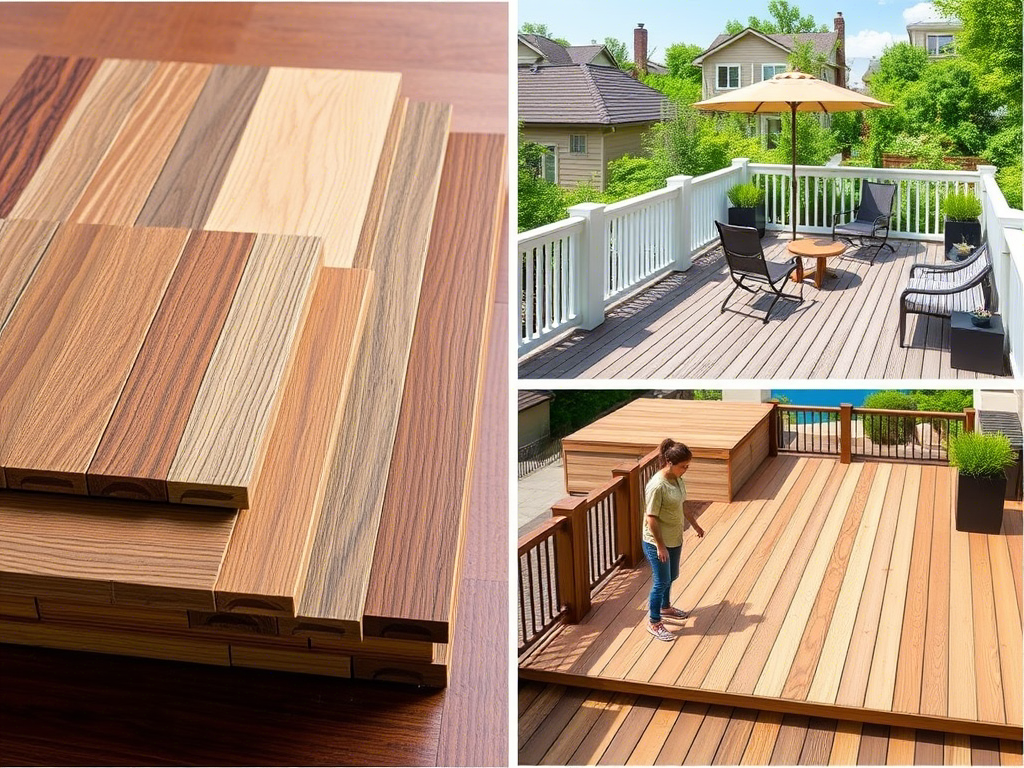


Deck tiles are a popular and versatile solution for transforming outdoor spaces. They’re quick to install, stylish, and durable. However, one challenge many homeowners face is dealing with an uneven surface—whether it’s cracked concrete, compacted soil, or a sloped backyard. Installing deck tiles without preparing the base can lead to shifting, poor drainage, and premature wear.
This guide explores practical methods to install deck tiles on uneven surfaces, ensuring a safe, attractive, and long-lasting deck.
1. Understanding the Challenge of Uneven Surfaces
Uneven ground causes multiple issues:
Safety hazards – trip points and loose tiles.
Poor drainage – water pooling beneath tiles, leading to rot or mold.
Structural stress – uneven weight distribution damages both the tiles and the base.
For this reason, leveling and preparing the surface before laying tiles is essential.
2. Assessing the Surface Type
Not all uneven surfaces are the same. The installation approach depends on the material beneath:
Concrete: Cracks, dips, and slopes are common.
Gravel or soil: Often unstable and prone to shifting.
Grass or garden area: Requires more ground preparation.
3. Methods to Level and Prepare the Base
a) For Uneven Concrete
Clean the surface: Remove debris, moss, or loose material.
Fill cracks and dips: Use concrete patching compound or leveling compound.
Grind high spots: A concrete grinder evens out protrusions.
Add an underlayment: Install a drainage mat or rubber underlay for better grip and cushioning.
b) For Soil, Gravel, or Grass
Clear vegetation: Remove grass, weeds, and roots.
Excavate and compact: Dig down a few inches and compact the soil to create a solid base.
Add gravel or sand: Spread a 2–3 inch layer of gravel, then top with leveling sand.
Use landscape fabric: Prevent weeds from growing back.
Compact again: A plate compactor or hand tamper ensures stability.
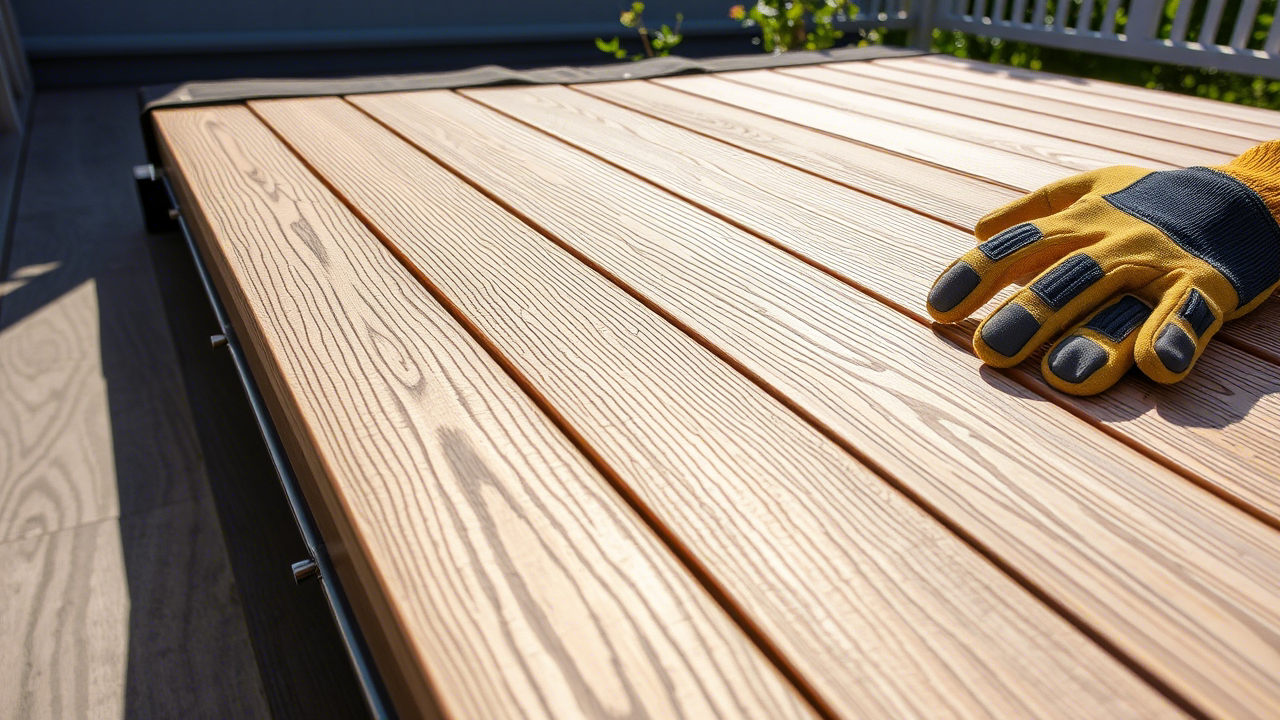
4. Installing Deck Tiles
Once the surface is leveled:
Lay the first tile in a corner and ensure it is aligned.
Click or lock tiles together depending on the system.
Check for level regularly using a spirit level.
Cut edge pieces with a saw for a precise fit.
Add edging or trim for a professional finish.
5. Tips for a Long-Lasting Installation
Always ensure proper drainage slope (1/8” per foot) to prevent water pooling.
Use rubber shims or adjustable pedestals for correcting minor uneven spots.
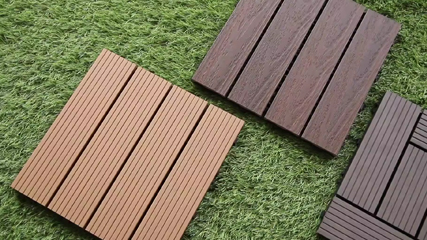
Choose weather-resistant materials such as composite or PVC deck tiles for durability.
Regularly inspect and clean the deck to avoid buildup of dirt and moisture.
6. When to Use Adjustable Deck Supports
For surfaces with significant slope or major irregularities, consider adjustable pedestal supports. These raise deck tiles above the ground and allow precise height adjustments, making them ideal for:
Rooftop decks
Sloped yards
Old concrete patios with severe cracks
Conclusion
Installing deck tiles on uneven surfaces is entirely possible with the right preparation. Whether you’re working on cracked concrete, sloped soil, or grassy ground, the key steps are leveling, stabilizing, and ensuring proper drainage. By using techniques like gravel-sand bases, concrete leveling compounds, or adjustable supports, you can achieve a safe, stylish, and long-lasting outdoor space.