


Content
- 1 Quick answer: the reliable deck re-stain workflow
- 2 Decide whether to strip, sand, or just clean
- 3 Prep the deck so the new stain can bond
- 4 Drying and weather timing that prevents peeling
- 5 Choose the right stain for a re-stain job
- 6 How to apply deck stain without lap marks or sticky spots
- 7 Coverage, cost, and time planning
- 8 Troubleshooting: fix common re-stain problems fast
- 9 Conclusion: re-stain your deck for a finish that lasts
To re-stain a deck correctly: remove failed stain (strip or sand), clean thoroughly, let the wood dry to about 12–15% moisture, then apply a compatible stain in thin, even coats. If you skip prep or stain damp wood, the finish typically peels or turns blotchy within a season.
A practical rule of thumb is to plan for 1–2 full days for prep and 1 day for staining, plus drying time. Most DIY failures come from rushing drying or applying too much product at once.
Quick answer: the reliable deck re-stain workflow
Use this sequence to avoid peeling, lap marks, and uneven color:
- Inspect: identify peeling, graying, mildew, soft wood, and nail/screw pops.
- Choose removal method: strip if stain is film-forming or patchy; sand if mostly worn and absorbent.
- Wash properly: deck cleaner + scrub; rinse well; remove all residue.
- Dry fully: aim for 12–15% moisture (or at least 48–72 hours of dry weather).
- Test absorption: water should darken/soak in within 10–30 seconds (not bead up).
- Stain: apply thin coats, maintain a wet edge, and back-brush to level.
- Cure: light foot traffic after 24–48 hours; furniture after 48–72 hours (longer if cool/humid).
Key takeaway: Prep determines longevity more than the stain brand—expect 70–80% of your time to be prep and drying.
Decide whether to strip, sand, or just clean
The right approach depends on whether your current coating sits on top of the wood (film-forming) or soaks in (penetrating). Use the table to choose a method that matches what your deck is doing today.
| What you observe | Likely coating type | Best prep | Why |
|---|---|---|---|
| Peeling sheets, cracking, or shiny patches | Film-forming (solid/paint-like) | Strip + sand | New stain won’t bond to loose film |
| Color is faded, wood looks dry, no peeling | Penetrating (semi-transparent/transparent) | Clean + light sand | Removes oxidation and opens pores |
| Water beads up strongly everywhere | Sealer/over-applied stain | Strip or sand | Beading means poor penetration |
| Dark spotting, slippery areas, green/black growth | Mildew/algae | Clean + mildew treatment | Growth will bleed through new stain |
If you can’t decide: do a small test area (about 2 ft x 2 ft) with your chosen prep. If it dries evenly and absorbs stain without blotching, your method is correct.
Prep the deck so the new stain can bond
Repairs first: fix what stain can’t hide
- Replace boards that are soft, punky, or splintering deeply.
- Reset fasteners and swap rusted nails for exterior screws where needed.
- Countersink slightly proud screws to prevent roller snags and lap marks.
Cleaning: remove oxidation, dirt, and residues
Cleaning isn’t optional. Even if the deck “looks” clean, a thin layer of gray oxidation blocks penetration. A good scrub typically removes more failure-causing residue than high pressure alone.
- Apply deck cleaner, then scrub along the grain with a stiff brush.
- Rinse until runoff is clear and no foam remains.
- Avoid “carving” wood with a pressure washer; keep pressure moderate and tip moving.
Stripping: when you must remove old stain
If stain is peeling, patchy, or glossy, stripping is the fastest path to a uniform re-stain. Work in shade where possible so stripper doesn’t dry on the boards.
- Apply stripper evenly; keep it wet for the dwell time listed on the label.
- Scrub stubborn areas; rinse thoroughly to remove chemical residue.
- Neutralize if required by the product (some strippers need it for proper stain adhesion).
Sanding: the shortcut to smoother, more even color
Sanding removes fuzz, evens out weathered grain, and helps avoid blotches. For most deck boards, aim for a final grit around 60–80: coarse enough to open pores, not so fine that it burnishes the wood.
Drying and weather timing that prevents peeling
Stain failure is often a moisture problem. If the deck is damp, stain can’t penetrate and may cure as a weak layer that flakes. A safer target is wood moisture around 12–15% before staining.
Simple ways to judge readiness
- Moisture meter: best option—spot check sunny and shaded boards.
- Water drop test: water should darken the wood and absorb within 10–30 seconds.
- Weather rule: after washing, allow 48–72 hours of dry, warm conditions before staining.
For best results, stain when the deck surface is cool—typically morning or late afternoon—so you can keep a wet edge and avoid lap marks.
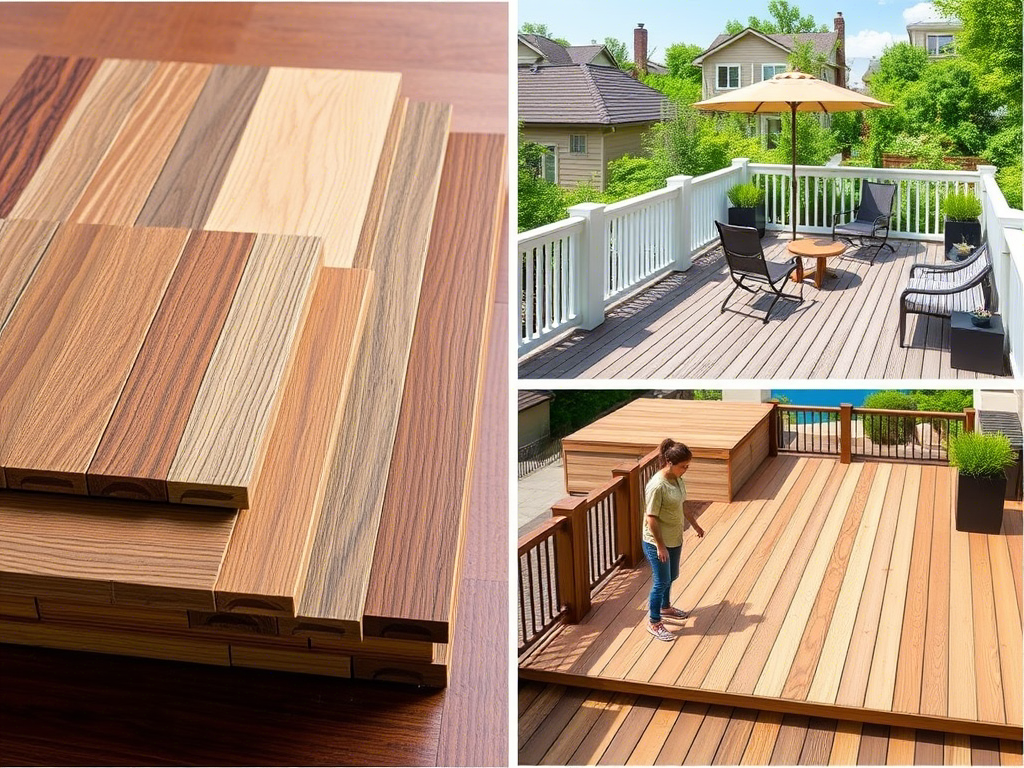
Choose the right stain for a re-stain job
Compatibility matters more than marketing. A penetrating stain generally performs best on most decks because it soaks in rather than forming a brittle film. Solid stains can hide color variation but demand stricter prep because they behave more like a coating.
Practical selection rules
- If you want visible wood grain, use a penetrating semi-transparent stain.
- If the deck has mismatched boards and old blotches, a solid stain can unify color, but prep must be near-perfect.
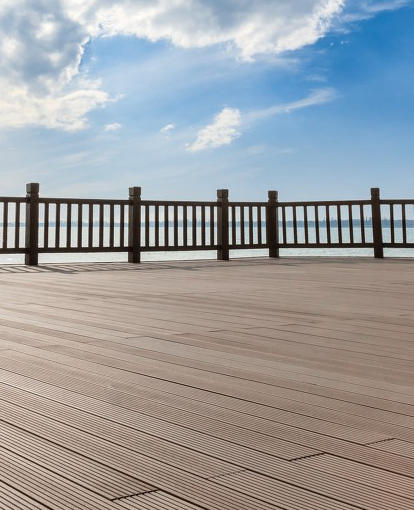
- If the deck is in full sun, expect faster fade; darker colors can show wear sooner in traffic lanes.
Example: If a previous solid stain is peeling, switching to a semi-transparent stain without fully removing the old film usually leads to patchy absorption and visible “ghosting.” In that case, strip/sand until absorption is consistent across boards.
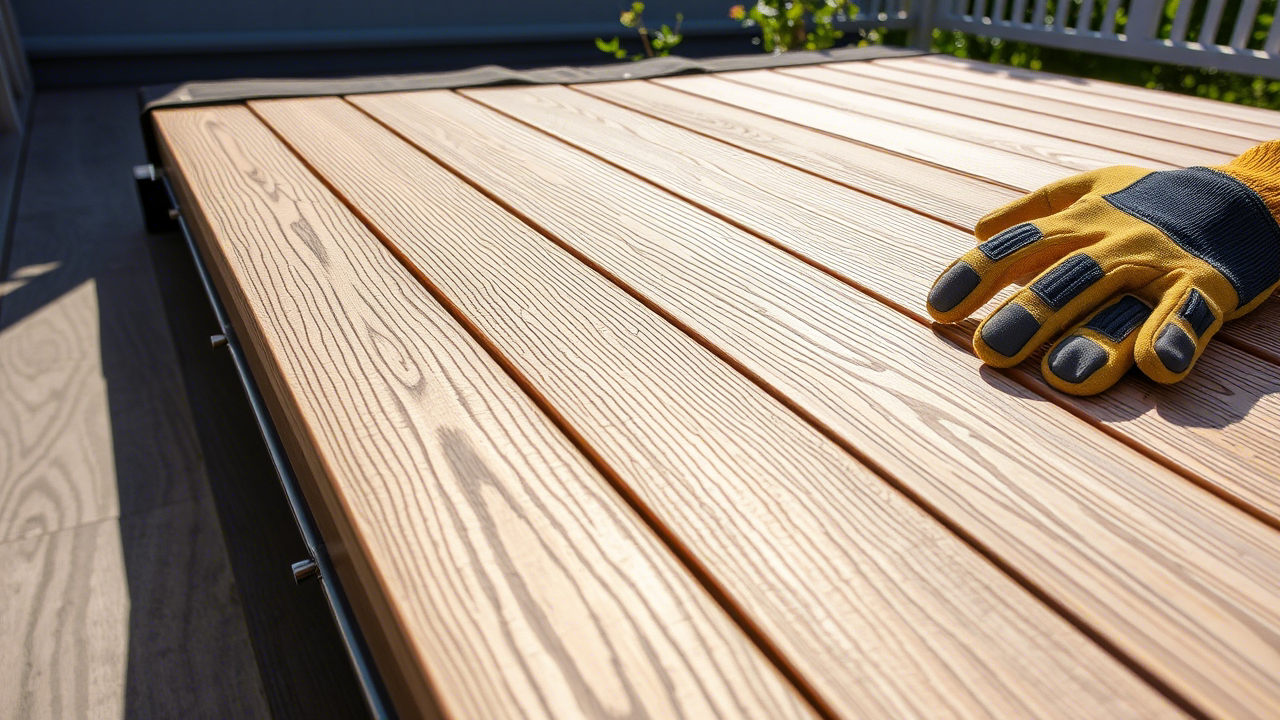
How to apply deck stain without lap marks or sticky spots
Tools that make the job cleaner
- Pad applicator or roller for speed on boards, plus a brush for back-brushing.
- Angled brush for railings and edges.
- Rags to wipe puddles immediately (critical for penetration-based stains).
Technique that prevents common failures
- Stir frequently (pigments settle fast; don’t rely on “shake once”).
- Work board-by-board: start at one end and finish full-length boards to avoid lap lines.
- Apply thinly, then back-brush to push stain into the grain and level out overlap.
- Wipe excess where it pools between boards or around knots.
- Respect recoat windows: applying a second coat too soon can trap solvents and create sticky areas.
Key data: Many decks only accept about 1 coat of penetrating stain. If the first coat hasn’t soaked in after 15–20 minutes, wiping excess is usually better than piling on a second heavy coat.
Coverage, cost, and time planning
Plan materials realistically so you don’t run short mid-board (which causes color variation). Actual coverage varies with wood age, porosity, and prior coatings.
| Item | Typical range | Example for 300 sq ft deck |
|---|---|---|
| Stain coverage | 150–350 sq ft/gal | 1–2 gallons depending on absorption |
| Cleaner/stripper coverage | 100–250 sq ft/gal | ~1–3 gallons based on product strength |
| Dry time before use | 24–48 hours foot traffic | Plan 2–3 days before furniture |
| DIY material cost | $0.75–$2.50/sq ft | $225–$750 typical range |
If your deck is heavily coated and needs stripping plus sanding, costs trend toward the high end due to extra chemicals, abrasives, and labor time.
Troubleshooting: fix common re-stain problems fast
Peeling within months
- Cause: stained over damp wood or over loose film.
- Fix: remove failed areas to bare wood (strip/sand), then re-stain after drying.
Sticky or glossy patches
- Cause: over-application or second coat applied too soon.
- Fix: wipe with rags and a compatible solvent per label; in severe cases, light sand and recoat thinly.
Blotchy color
- Cause: uneven prep, mixed porosity, leftover stripper residue.
- Fix: clean/sand to even absorption; consider a solid stain if boards vary heavily in age/color.
Conclusion: re-stain your deck for a finish that lasts
The most durable way to re stain deck boards is to restore uniform absorption first—strip or sand off failed stain, clean and rinse thoroughly, let the deck dry to about 12–15% moisture, then apply a thin, even coat and back-brush.
If you follow that sequence and give the deck enough dry weather before and after staining, you’ll get smoother color, better penetration, and a finish that holds up longer in sun and foot traffic.